Creating and Editing in Modern Campus
Are you interested in creating and editing your own web pages with confidence? In this guide we will show you how to navigate the platform to keep your content fresh, engaging and professional. Let's dive in.
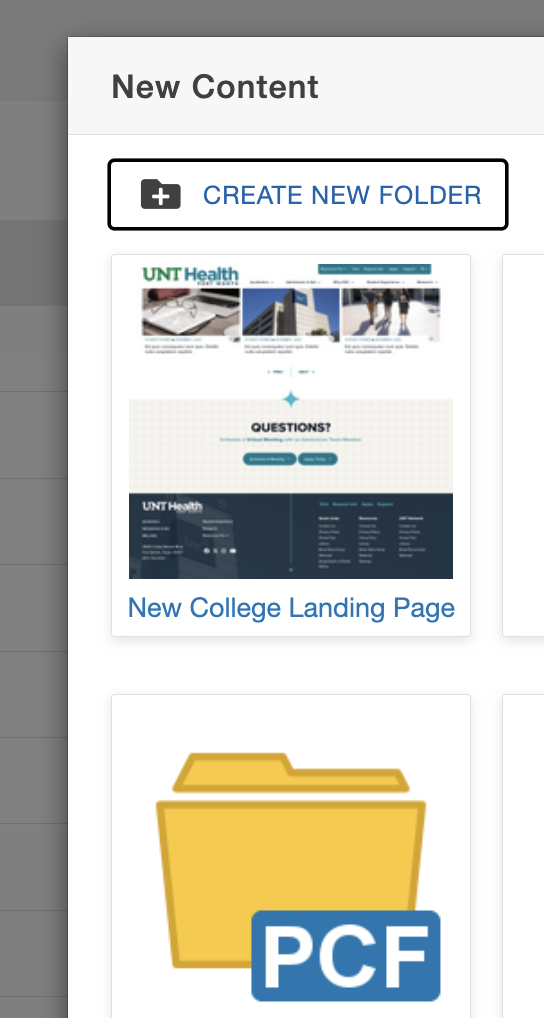
Step One
To create a new page or folder, navigate to your particular content folder in the page list view. The URL for the page will be generated by including the folder structure to the end of the domain.
Step Two
New Interior Two Column Example
-
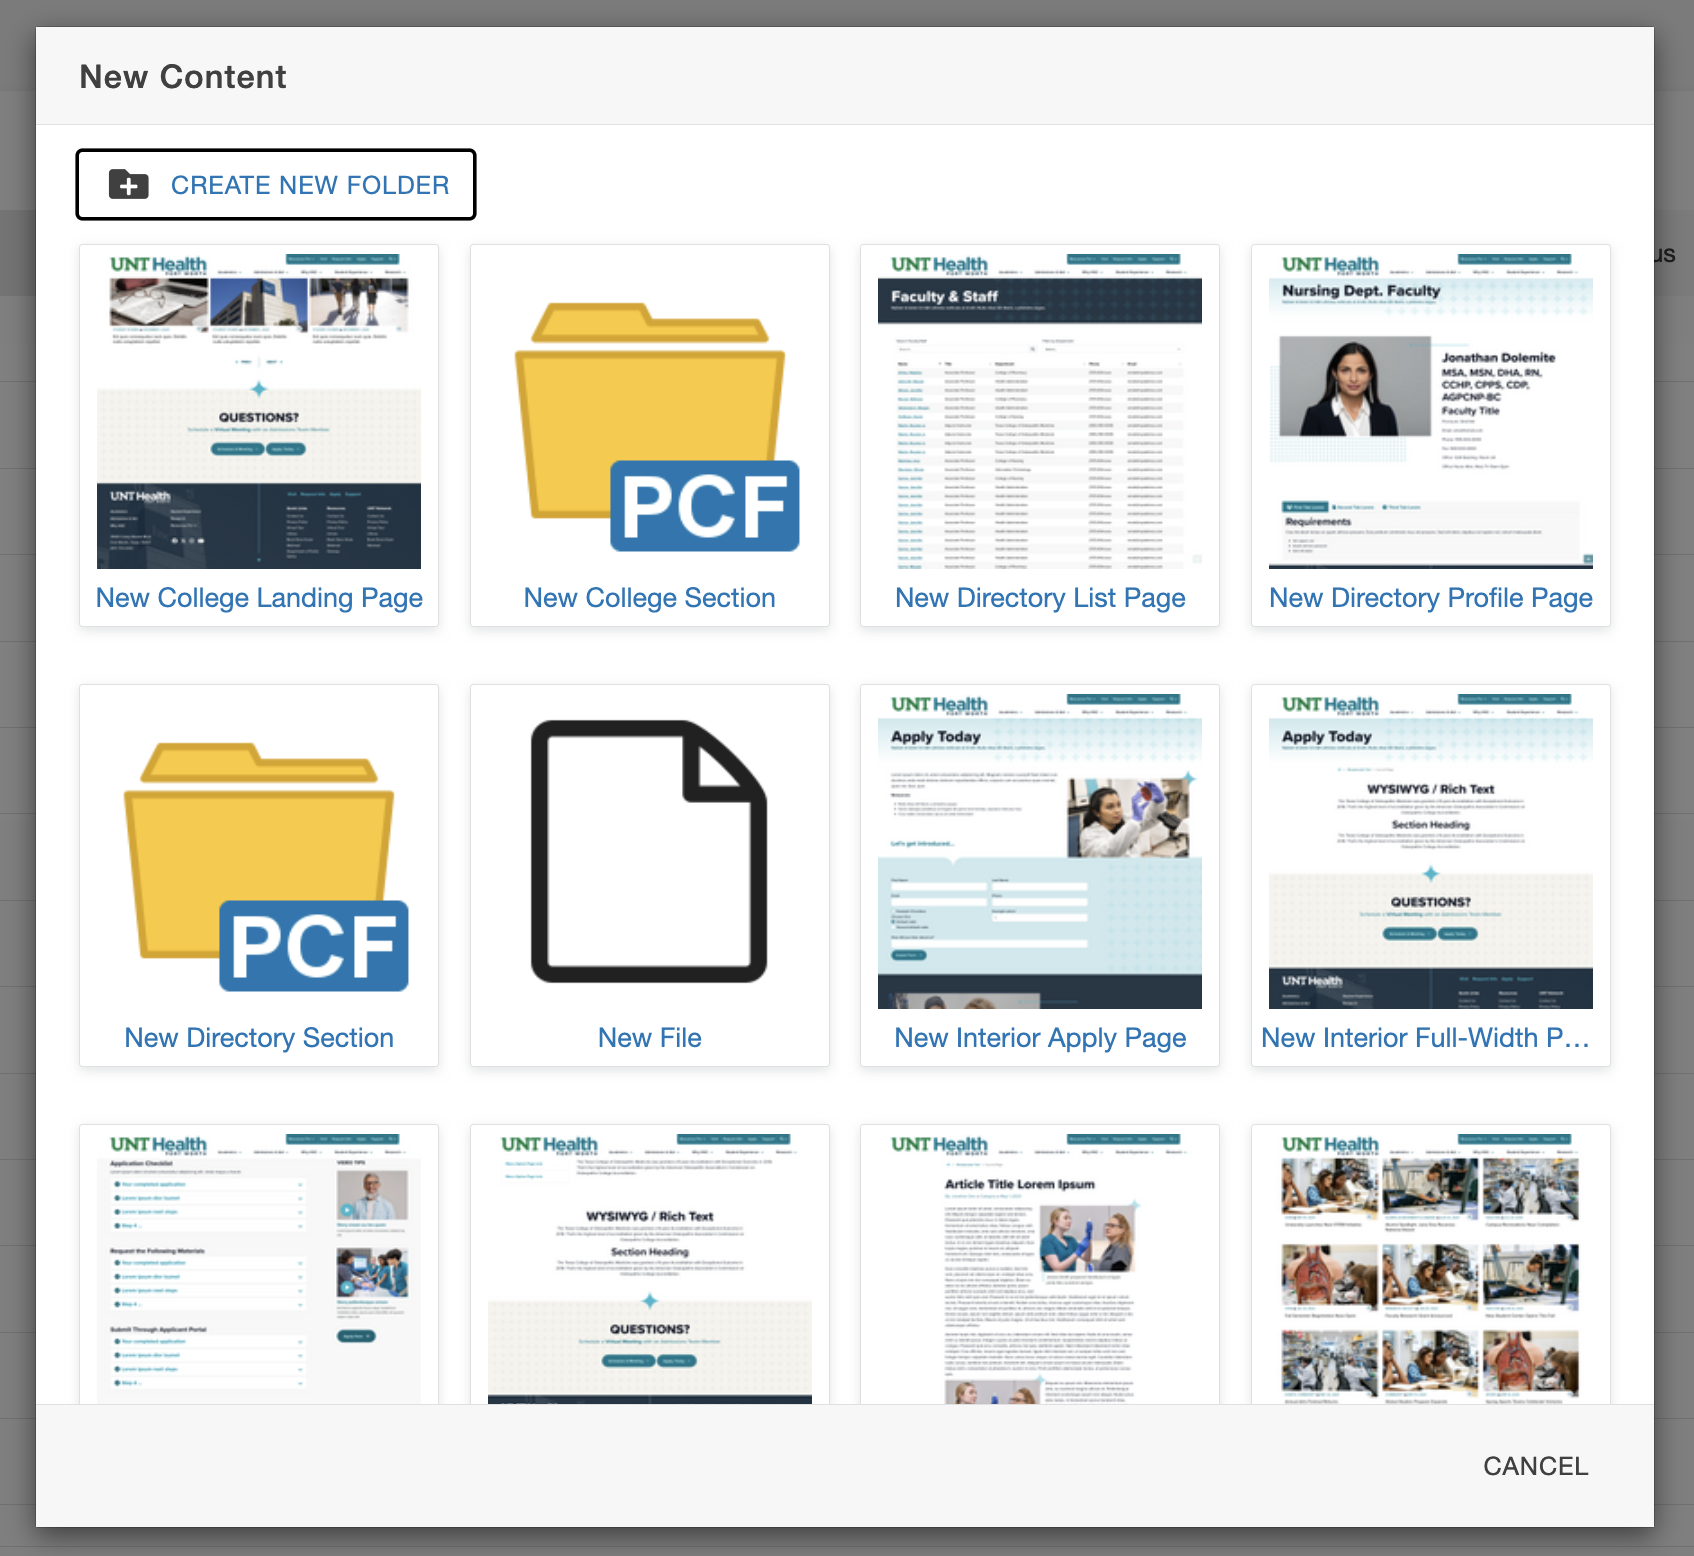
Select a Template: Choose your layout. Interior Full-Width or Interior Two Column is the recommended choice for most standard content.
-
Open the Form: Click the title or thumbnail of the template to open the details form on the right.
-
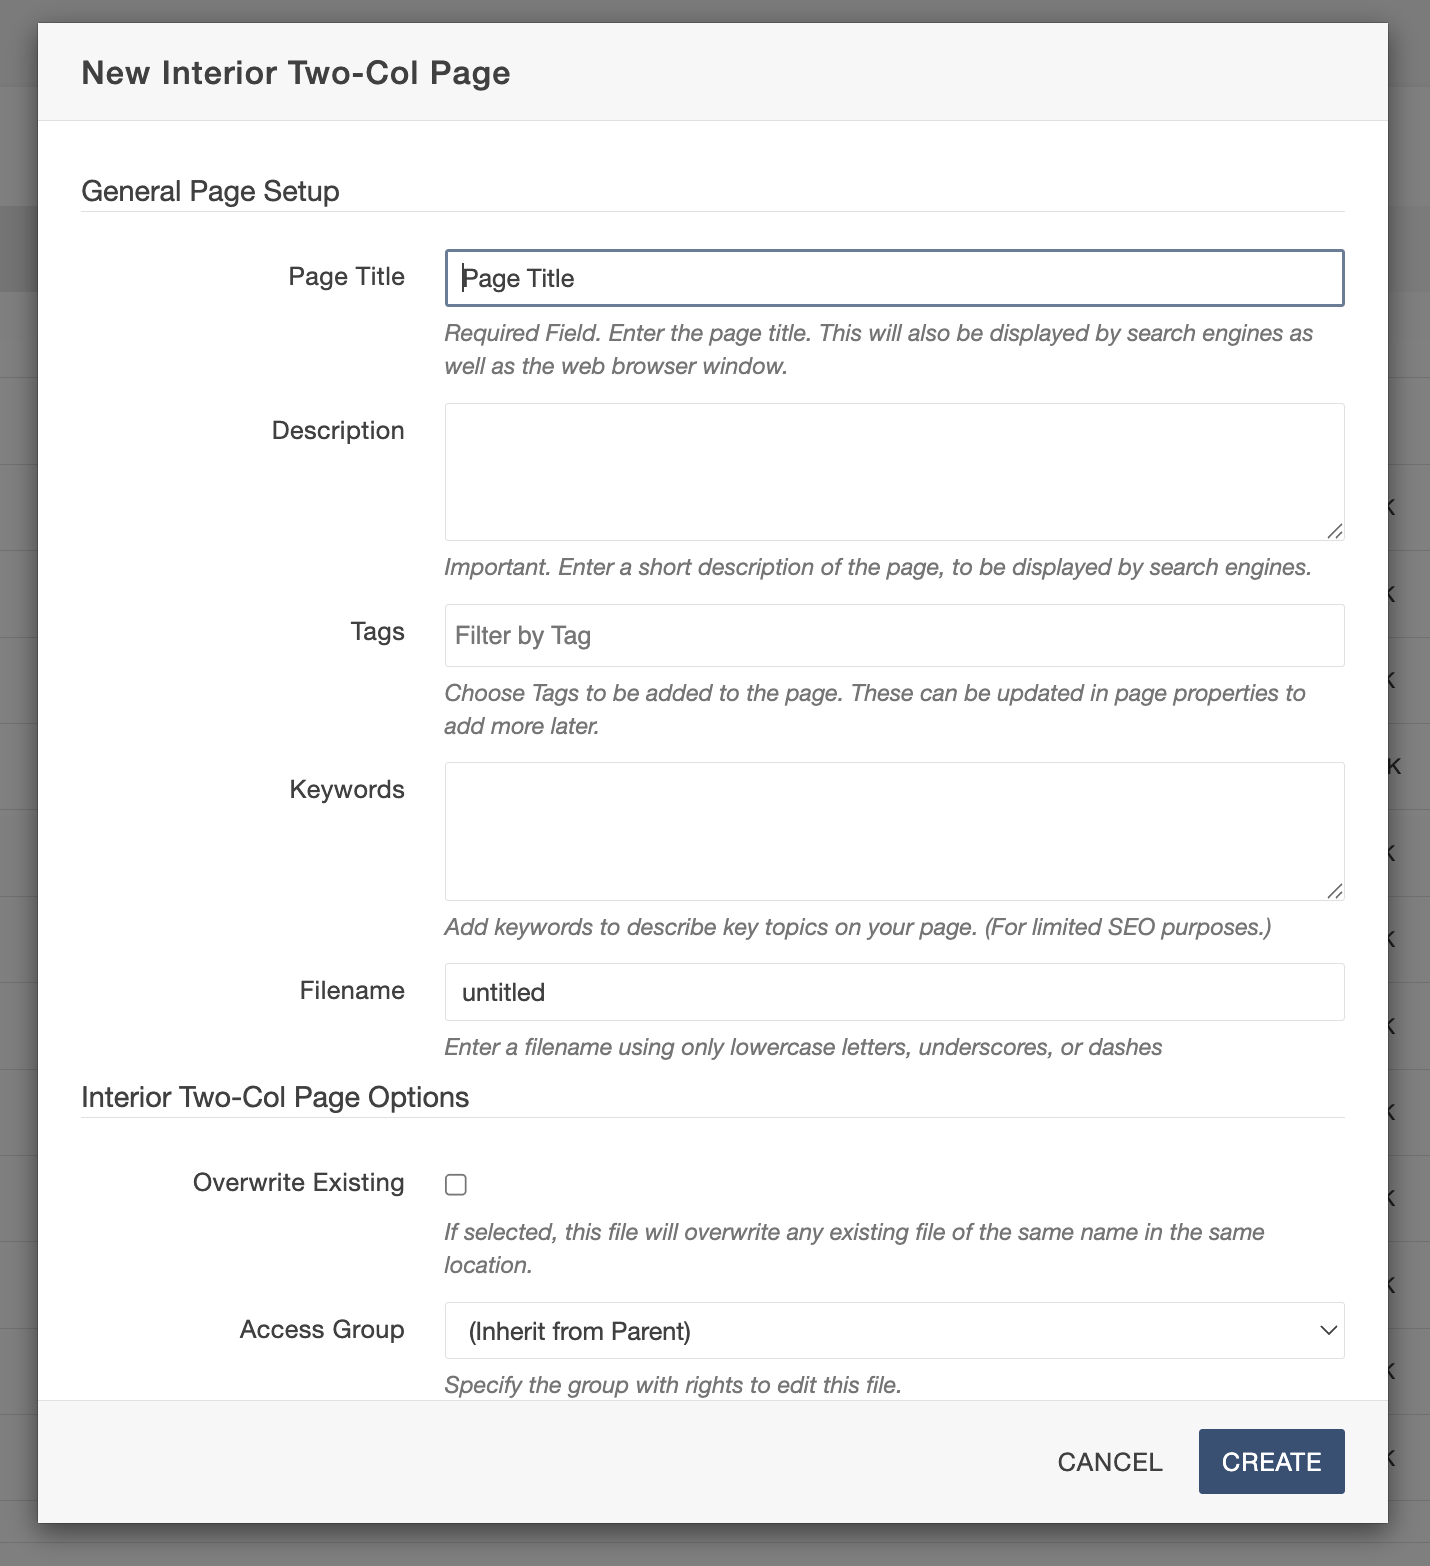
Enter Page Metadata:
-
Fill in the Page Title (user-facing, can use spaces/mixed case).
-
Enter a Short Description and Keywords (critical for SEO).
-
Create a File Name (must follow lowercase/no-space CMS standards).
-
-
Review & Save: Ensure all fields are complete, then click the CREATE button.
-
Start Editing: Modern Campus will automatically generate the page and open it in Editor View for you.
Step Three
Edit the page using this toolbar

- Preview - You can preview your page. As a reminder, staging and production the pages could change
- Edit - This is where you can edit your pages.
- Source - Not everyone will have ability to view this.
- Properties - Properties will be available when the page is checked out.
- Versions - You are able to go back and edit different versions. Not everyone will have the ability to view this.
- Light Bulb - This is where you can click to check in and out content.
- Publish/Submit - Most editors will see a submit button.
- Ellipsis - The more actions ellipsis is used in several places in Modern Campus. The actions vary based on permission level.
Step Four
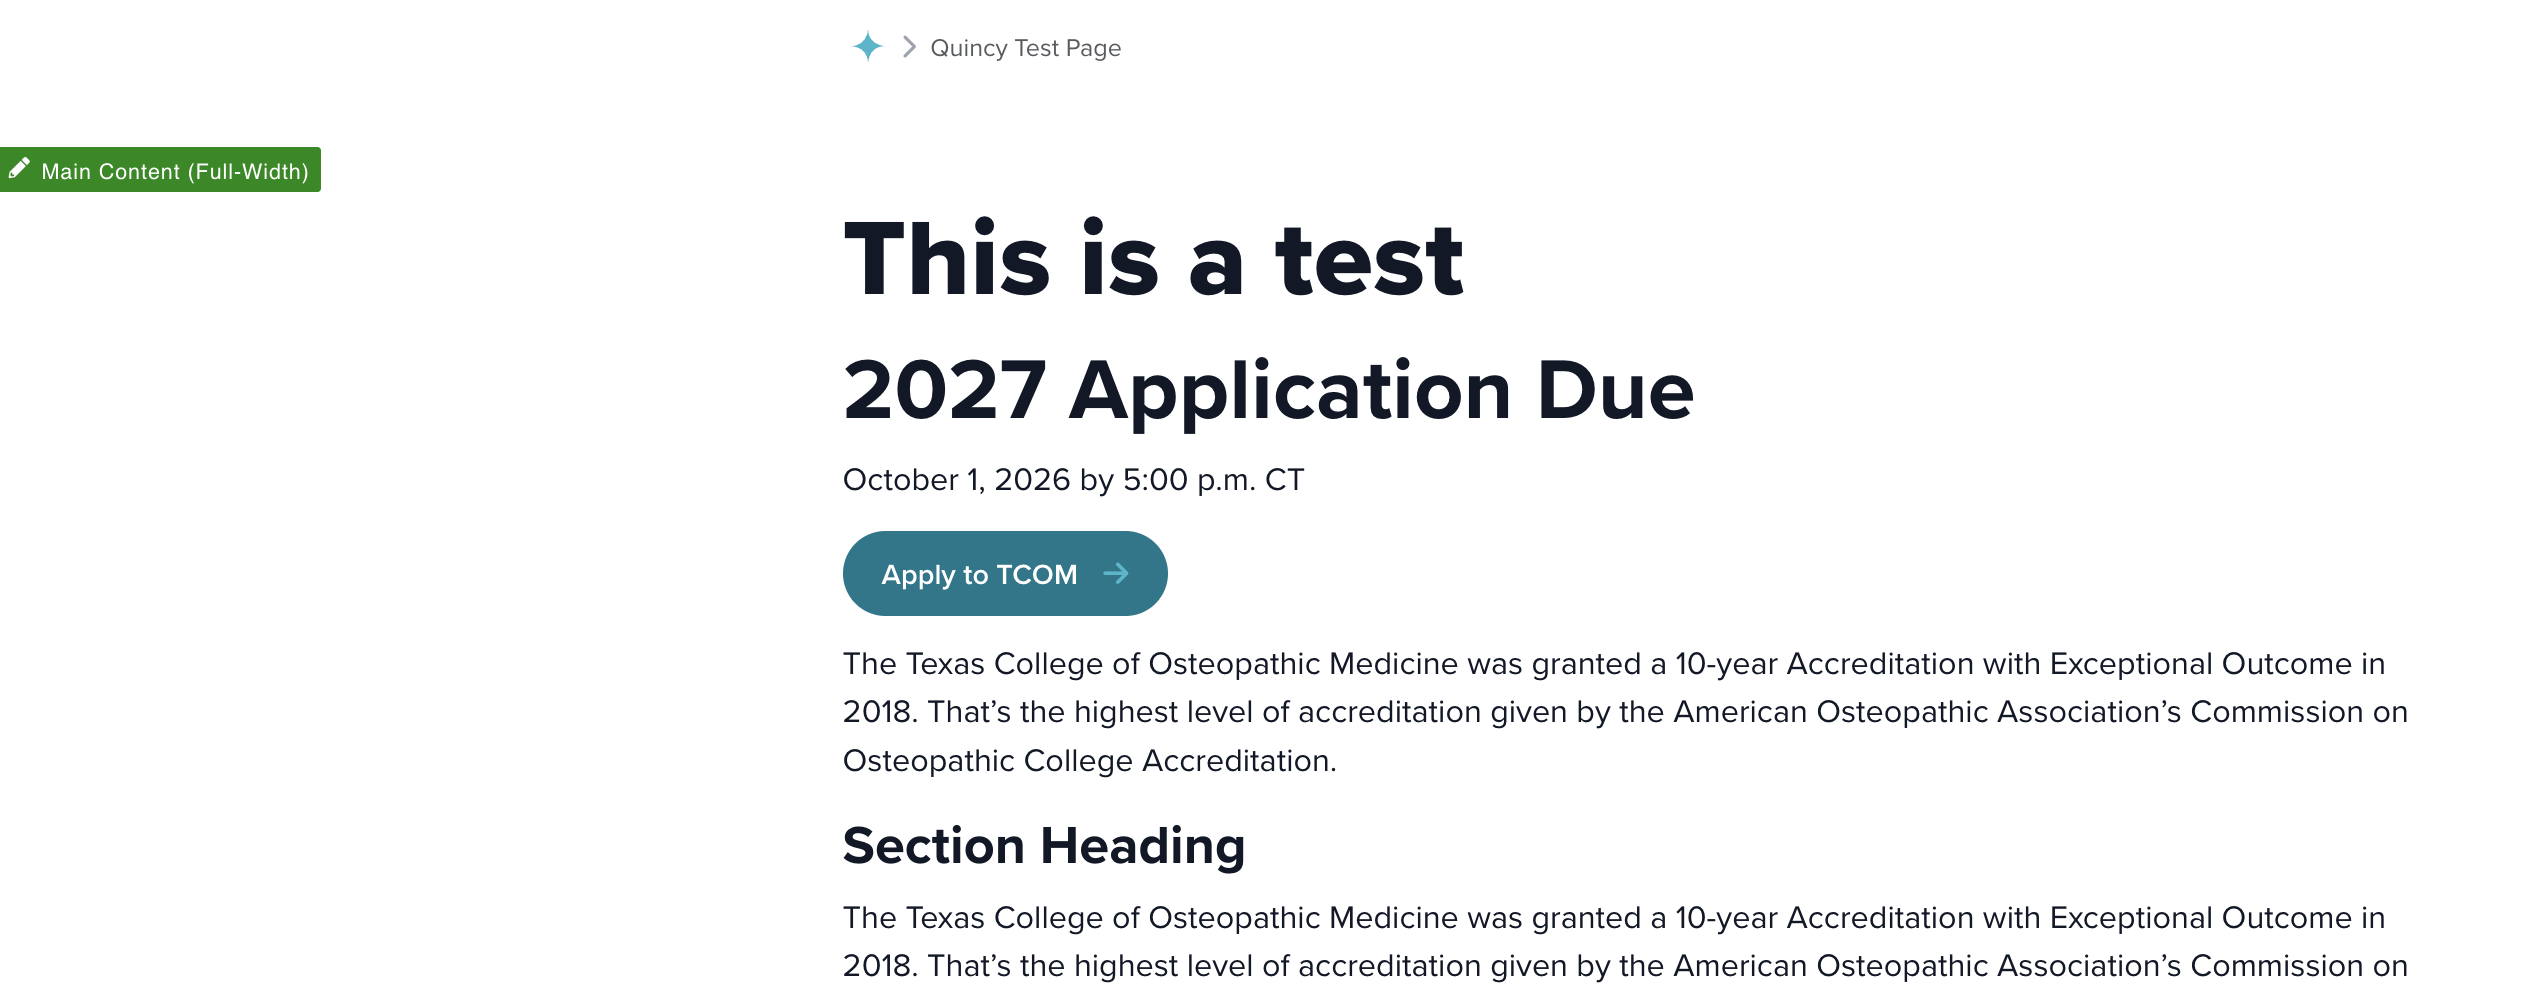
Editable Region(s)
-
Enter Edit Mode: Select the specific Editable Region you wish to update.
-
Note: Each page type has different regions; some may use a Multi-Edit form instead of direct on-page editing.
-
-
Open a Region: Click the Green Edit Button associated with the section you want to change.
-
Use the WYSIWYG Editor: This "What You See Is What You Get" tool allows you to type, format text and insert links or images with a live preview of the final result.
-
Switching Regions: To move to a different part of the page, you must Save your current work to exit the active content view.
-
Discarding Changes: If you make a mistake, use the Preview button in the Page Action Toolbar to exit without saving.
*Important: Please remember to save frequently.
Editing an Existing Page
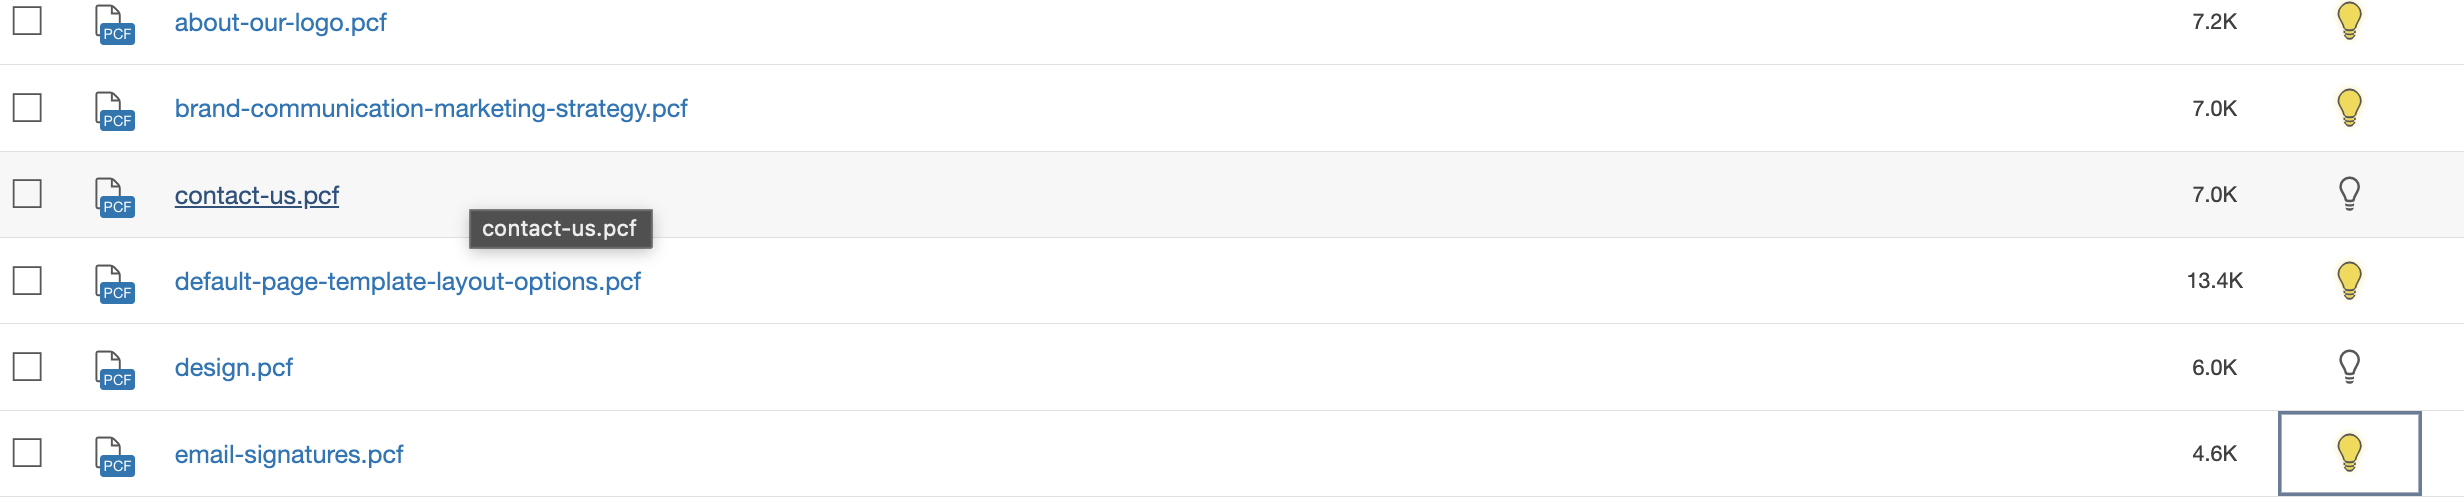
Checking Out Content
In Modern Campus, "checking out" a page acts as a safety lock, ensuring that only one person can make changes at a time to prevent work from being accidentally overwritten. To check out a page, simply click the light bulb icon to turn it yellow, which indicates the page is now locked specifically to you for editing. If you see a red lock icon instead of a light bulb, it means another user is currently working on that page and has it locked. In these cases, you will need to wait for them to finish, as only users with higher administrative permissions can manually break a lock to regain access.
Step One
To create a new page or folder, navigate to your particular content folder in the page list view. The URL for the page will be generated by including the folder structure to the end of the domain. The process to create folders is similar.
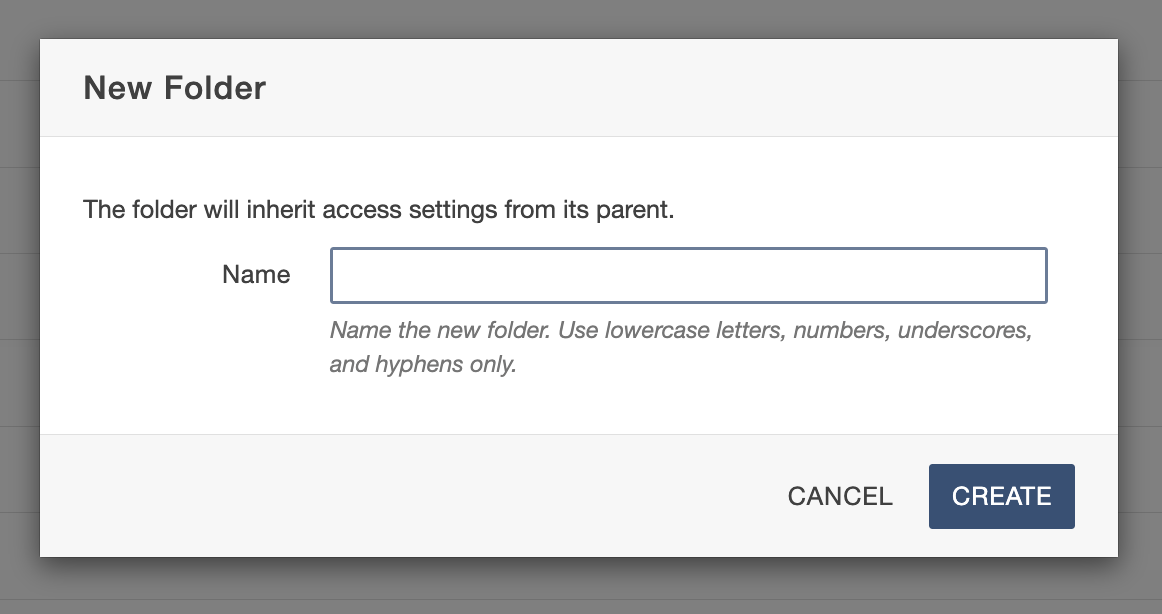
Step Two
Folder names must follow the Modern Campus file naming standards (no capital letters, no spaces).
When adding links in Modern Campus, you will typically use the WYSIWYG Toolbar, which features a powerful tool called Dependency Tags. These tags are highly recommended because they link directly to the file’s unique ID rather than its specific URL or folder location. This means that if you move a page or rename a file later, your links will stay active and won't "break." While these tags only work for content living inside the Modern Campus site, using them whenever possible ensures your website remains stable and easy to maintain.
To insert a link on the page:
- In an open editable region, highlight the text that you want to turn into a link.
- In the toolbar, select the Insert link button to open the link dialog box.
- If you have an external link, copy and paste the link into the URL field.
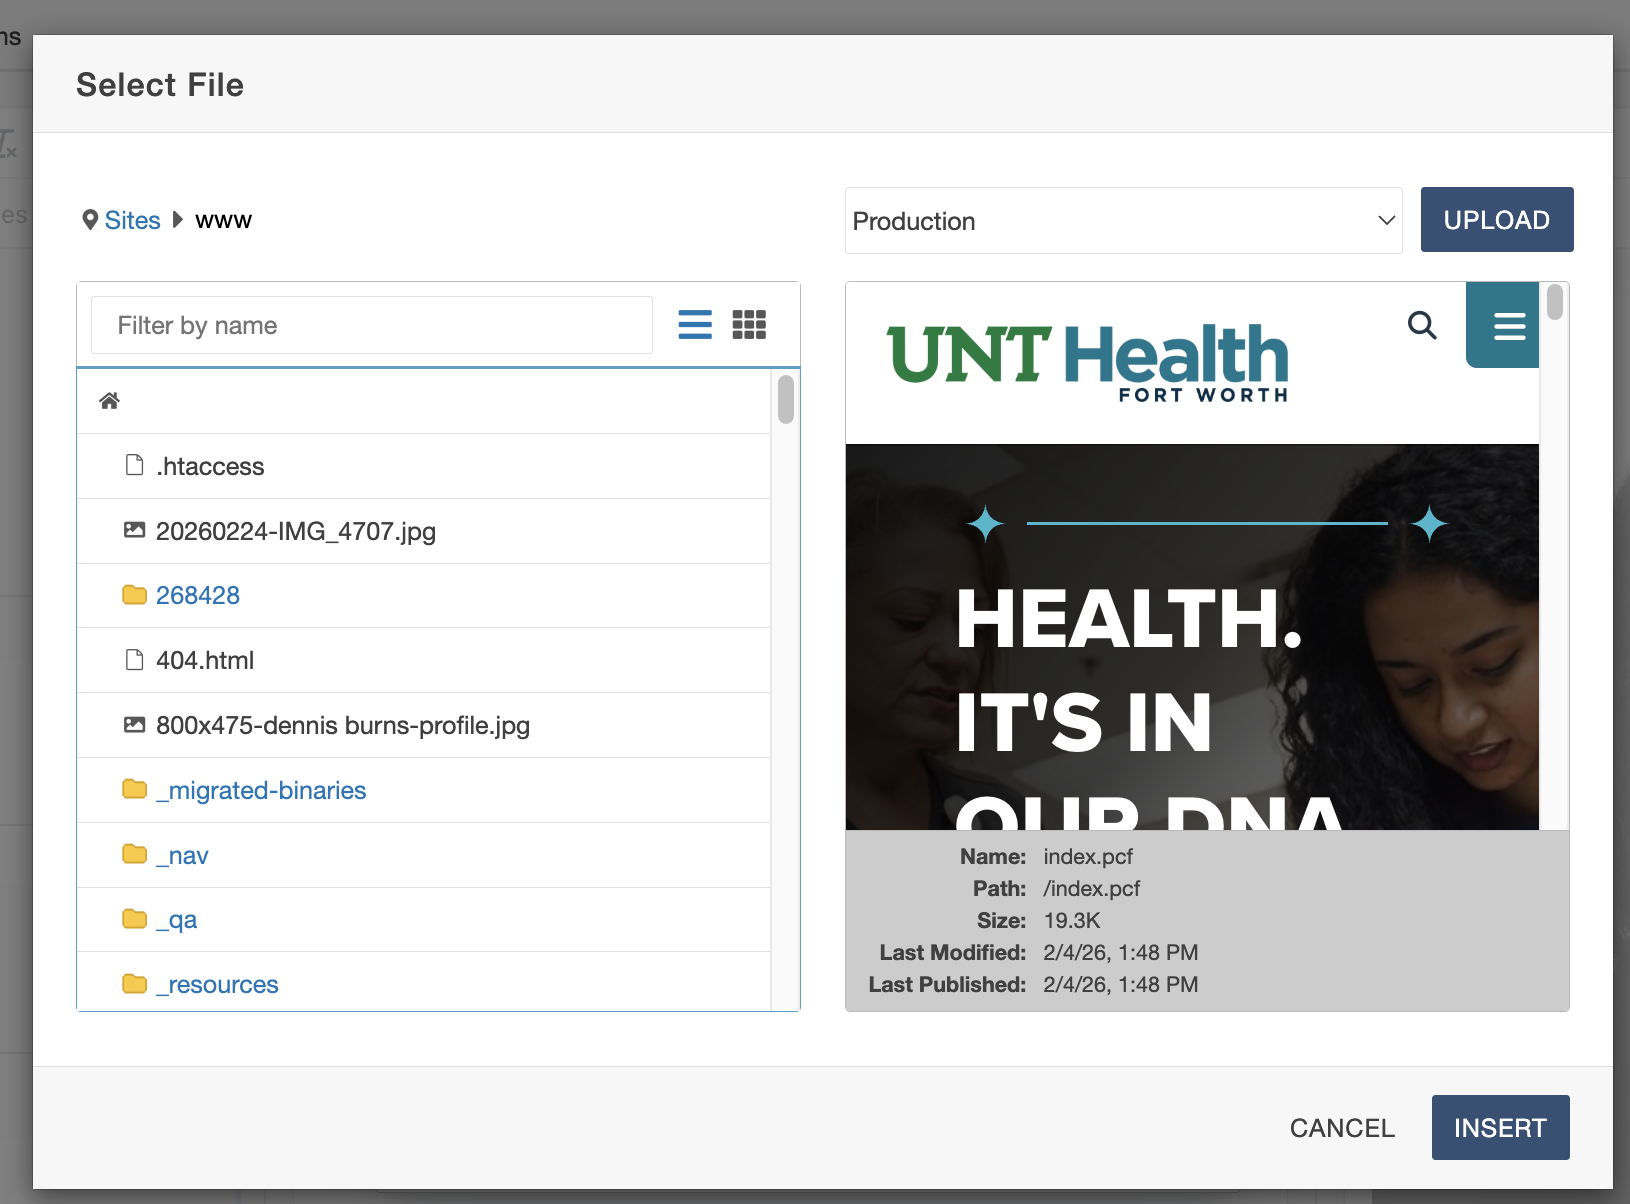
- To insert an internal link, select the file chooser icon (box with an arrow) to the right of the URL field.
- Browse through the files to select the page you want linked. Once the page is chose, select insert.
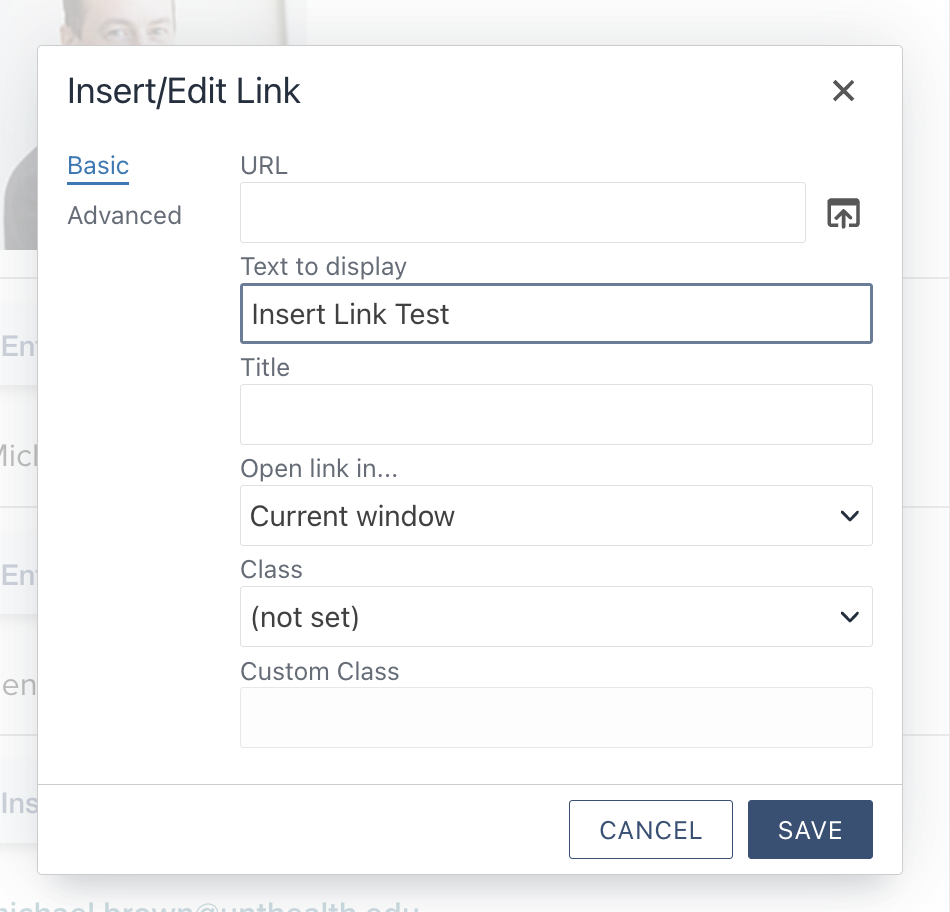
The example above shows the last step before inserting a link as a dependency tag. There is a preview window that is useful to verify the content before clicking the insert button.
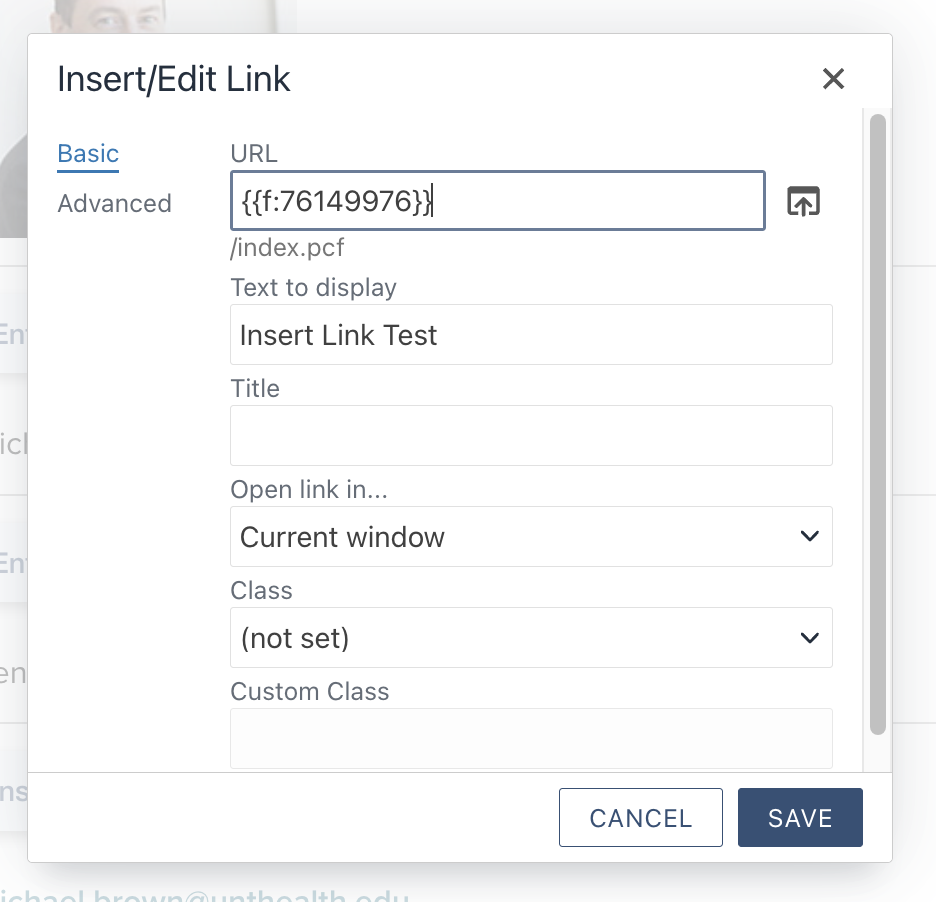
When you link to internal files, you will see a Dependency Tag in the URL field. This unique ID acts as a "smart link" that stays active even if you move or rename the file. Beyond the URL, you can customize the Title (the text seen when hovering), set the Class to turn your link into a button, or use the Open Link In...dropdown to decide if it should pop up in a new window.
To manage your links later, simply right-click the text or click the Insert/Edit Link icon in the toolbar; a Remove Link button is also available right next to it. Once your settings are dialed in, just click Save to finalize the change.
You can insert images into most WYSIWYG sections of your page using a straightforward, consistent process. When editing a standard content region, you'll simply use the image icon in the toolbar to open the insertion menu. If you are working within a specialized page form, the option to add an image will be built directly into the fields you are already filling out. Regardless of where the image is placed, the steps to select, describe and format your visual content remain the same.
To place an image on a page:
-
Position Your Cursor: Inside an open editable region, click the exact spot on the page where you want the image to appear.
-
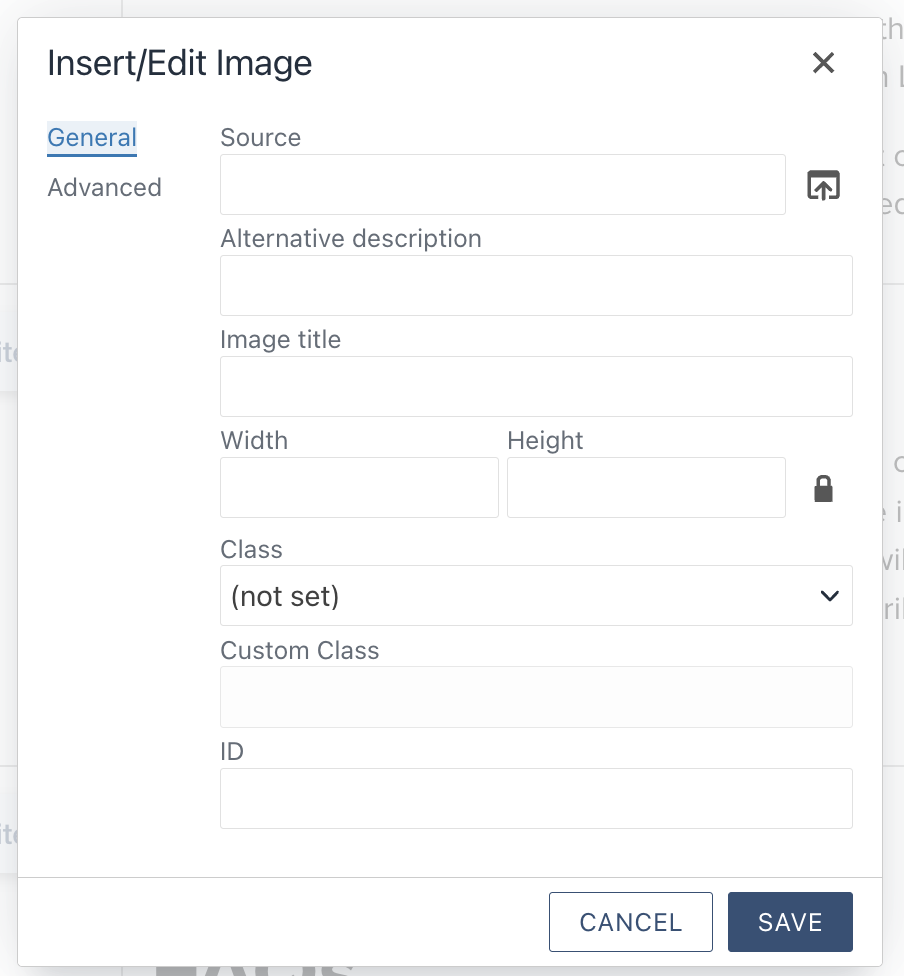
Open the Image Tool: In the WYSIWYG toolbar, click the Insert/Edit Image icon (usually represented by a small mountain or photograph).
-
Browse for Your File: Within the Source field of the pop-up, click the File Chooser icon—the small box with an upward-pointing arrow—to select your image from the server.
- Add Alternative Description: After selecting your image, fill in the Alternative Description (Alt Text) field. This should be a short, clear sentence describing the image for search engines and users with screen readers. Once finished, click Save to place the image on your page.
1. Locate and Select Your Image
-
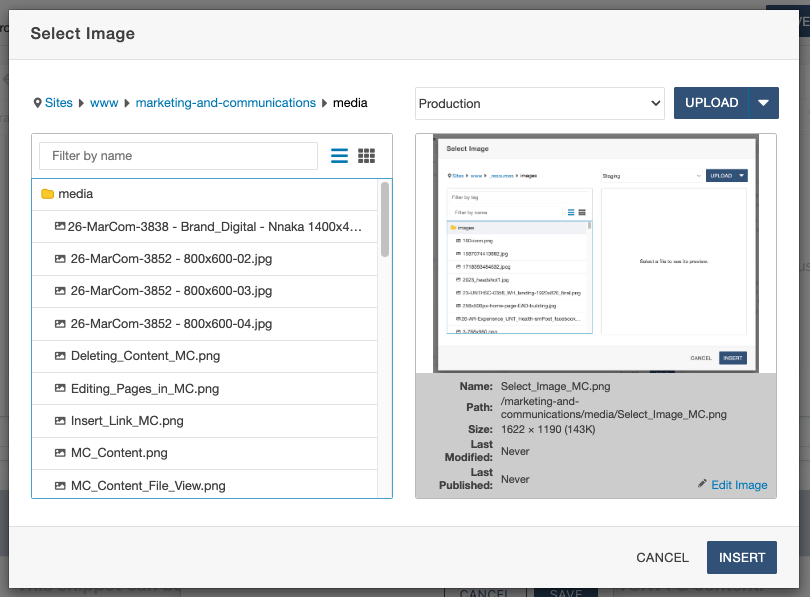
Open the File Chooser: Clicking the icon will open a dialog box where you can browse your website’s file system.
-
Choose or Upload: Navigate to your desired image and click Insert.
-
Need a New Image? If your file isn't in the CMS yet, navigate to the correct images folder and click the Upload button in the upper-right corner to add it.
2. Accessibility and Metadata
-
Alternative Description (Required): You must fill this out to satisfy accessibility standards. This text describes the image for screen readers and search engines.
-
Image Title (Optional): You can provide a brief title that appears when a user hovers over the image; this does not need to be as detailed as the Alt Description.
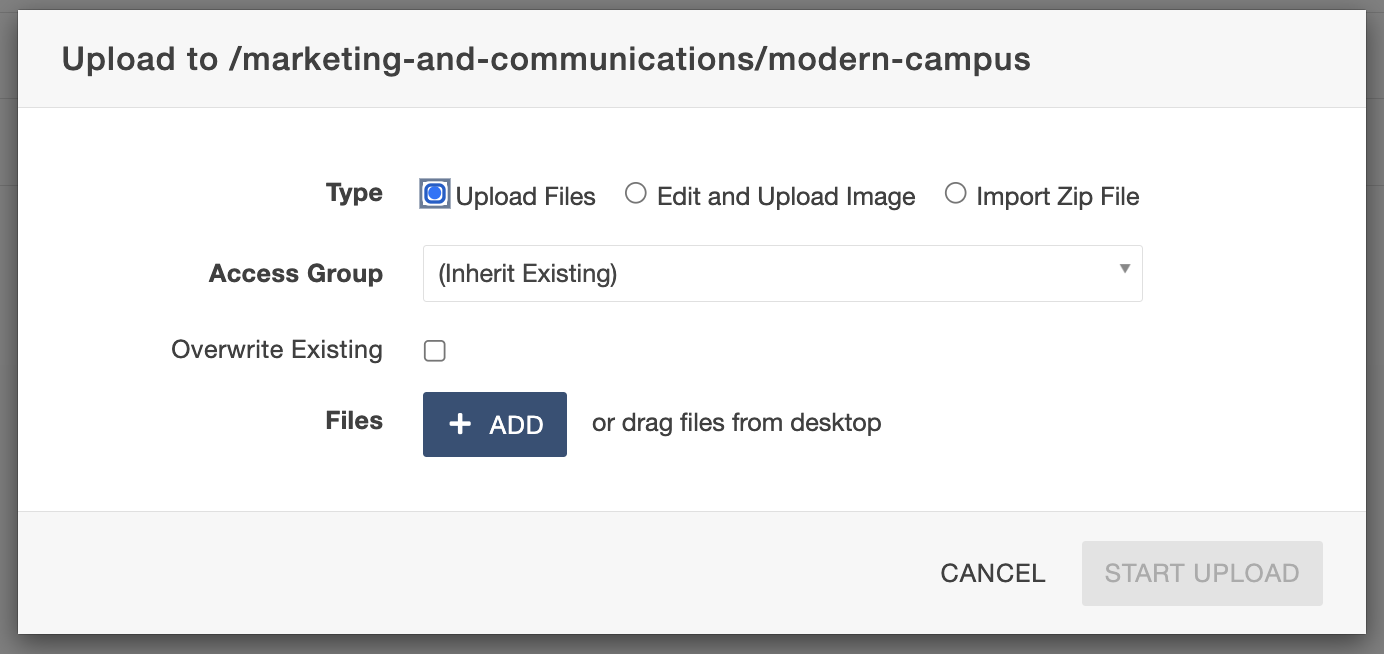
Images can also be uploaded to a folder on the site database. In order to upload an image:
- Navigate to the desired upload location (folder).
- Select UPLOAD from the top toolbar, on the side of the + NEW content button.

3. Using the upload dialog box, choose the + ADD button to open a file browser and select the
image to upload.